
Many people, understandably, shy away from complicated nail art. Precise designs and minuscule details can frighten even the most adventurous of nail artists. Fear not, though, because I am here to show you a very simple but vibrant and fun nail art design. Spring is here so why not give this bright manicure a go!
You will need:
- Cotton wool
- Cotton buds
- Nail polish remover
- Clear nail polish
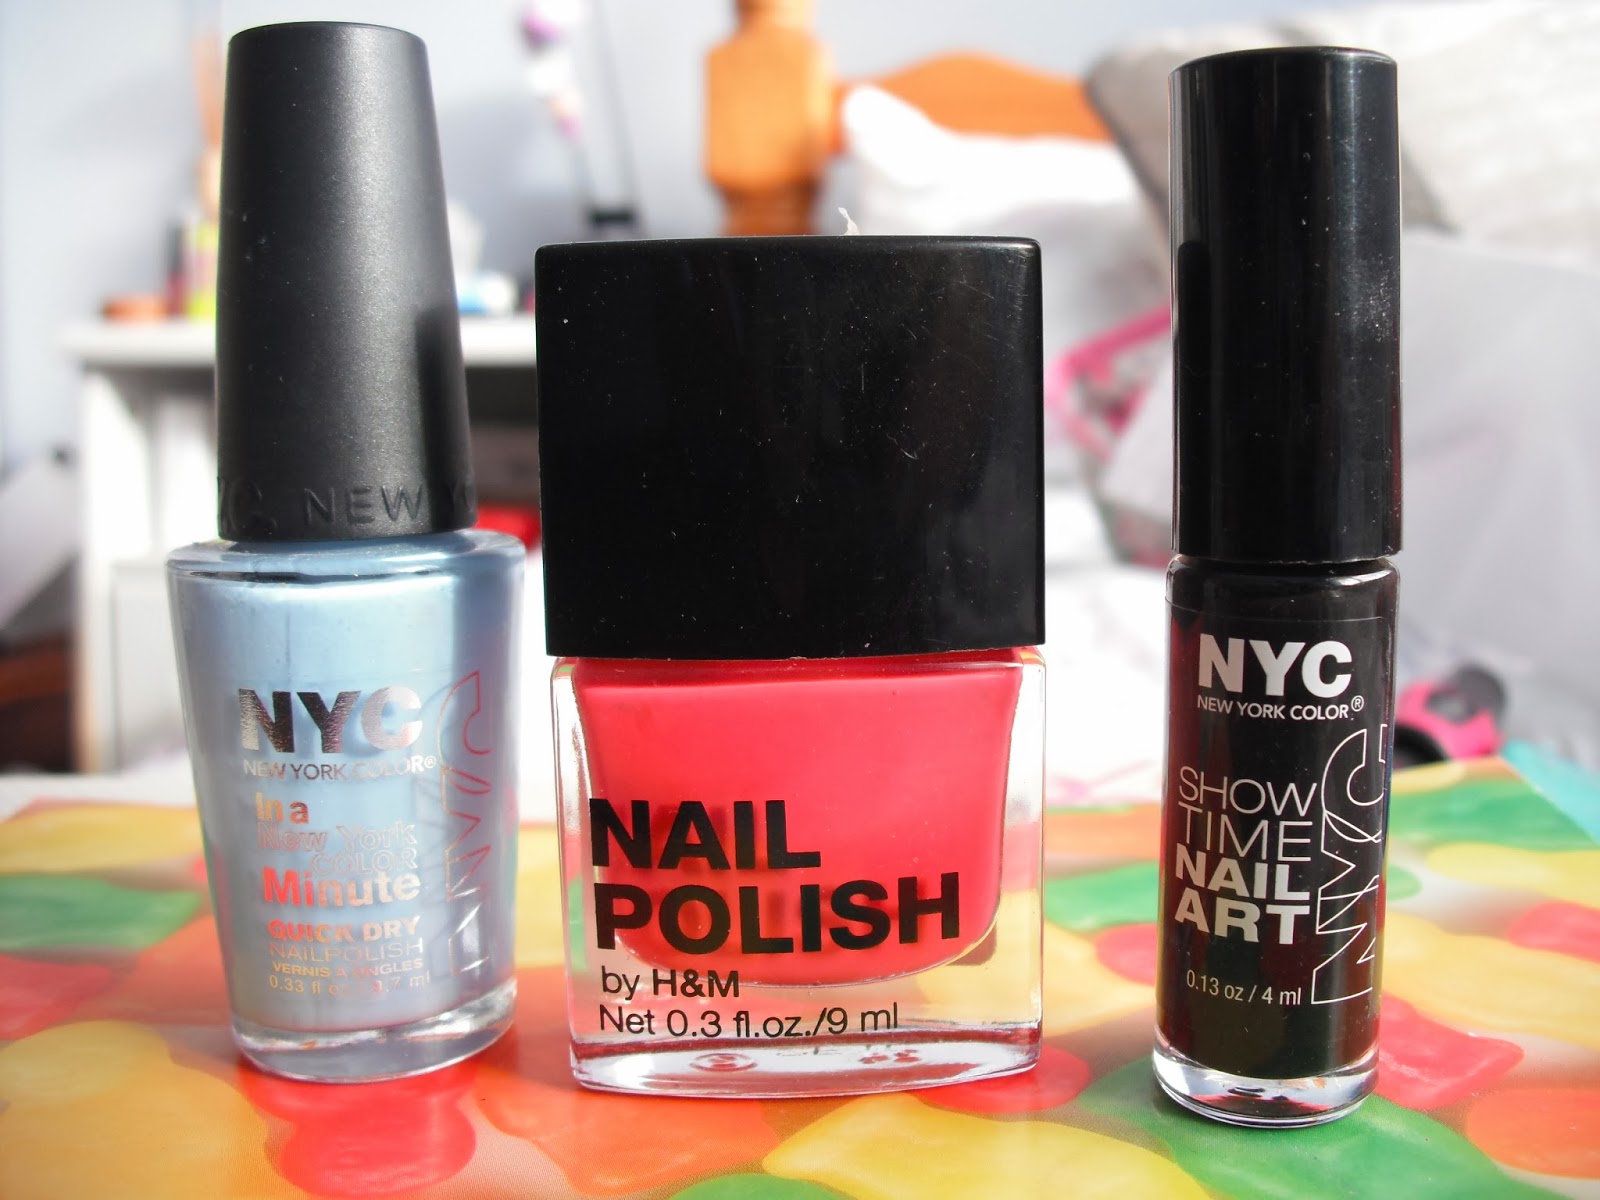
- Two contrasting nail colours (I used "NYC In a Minute Quickdry Nail Polish" in Raindrop and "Nail Polish by H&M" in Check Me Out)
- A black polish with a thin brush or a nail art pen (I used "NYC Showtime Nail Art" in Black Ink)
Step 2: Apply clear nail polish as a basecoat to your nails and allow to dry.

Step 3: Paint one half of your nails with one of your chosen colours. Experiment with different colour combinations here as the possibilities are endless.

Step 4: Paint the remaining half of your nails with the other colour.

Step 5: When your nails are completely dry (this will take a few minutes), using your black nail art pen/brush, draw a thin, straight line in the centre of each nail dividing the contrasting colours. The thinner your brush the easier it will be to keep the line straight. Make sure there isn't too much polish on the brush. Allow at least 5 minutes for your nails to dry.

Step 6: The difficult part is over, phew! All that's left to do now is to apply a topcoat of clear polish and correct any errors using a cotton bud dipped in nail polish remover.
And that's it! It wasn't too hard was it? You now have a gorgeous spring nail art look that can be renewed regularly by using different shades of polish or even flipping the design on its side and painting the lines horizontally. Feel free to try out whatever you want and leave a comment below with your ideas.
No comments:
Post a Comment